- To edge garments; like the front and collar of jackets & coats, and in necks and cuffs on wedding and occasional dresses
- In seams; in the join of a yolk waistband, and as flat piping where lining meets facings in jackets
- As embellishment; to create a window for reverse applique, at the edge of appliqued ribbon to give texture and body
- Embellishing pockets; both edging pocket flaps on tailored pockets and flat at the top of a tailored pocket
Piping is so versatile and can give your project real finesse, piping can also be very helpful in helping items hold their shape such as a cuff or collar, and to induce tension where needed for example in a cross over bodice to stop gaping.
Here we go....
Piping has to be trapped in a seam so gather your piping and your fabric together – top tip, before you use this in a garment, practice, practice PRACTICE!
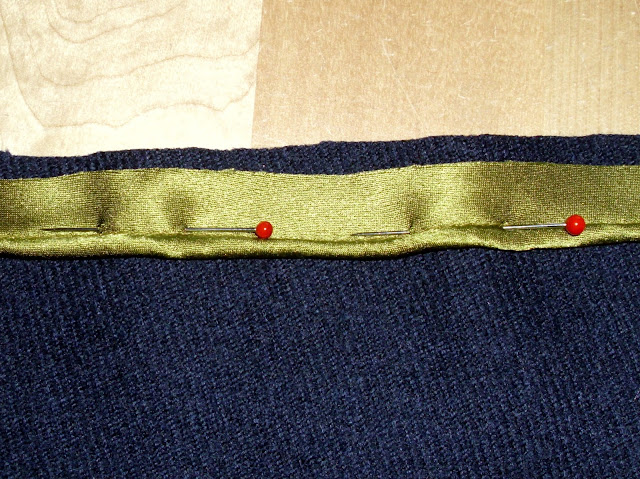
Pin the piping 1.5cm in from the edge of the fabric on the right side, top tip, my thumb is exactly 1.5cm wide so measure your fingers and find the one that is the right width so you don’t have to spend hours measuring with a ruler as you put each pin in.
Using your universal concealed zip foot, sew the piping to the fabric, using the stitching on the piping as your sewing guide.
This is what it should look like once you have sewn the piping on.
Turn it over.
Now pin your piped fabric to the other piece of fabric you are using, right sides together.
Using your previous stitching as your guide, sew the two pieces together just inside your previous stitching so that all the stitching is invisible on the right side.
The left had line of stitching is the new one.
This is what it should look like now on the right side before you press it.
If you are using the piping in a seam, press it flat with the seam allowance pointing towards the sides if on the front of the garment and towards the centre back if on the back of the garment. Use plenty of steam, if the fabric is delicate cover with a clean cotton tea towel – I keep lots of these just for pressing.
– If the piping is an edging then turn the wrong sides together and STEAM!! Steam is your friend.
Contrast piping is wonderful in my humble opinion, so for those of you who love a splash of colour, go for it.
I hope that makes it look as simple as it is to execute, piping is a set of simple steps and until you get used to doing it just take your time and you will be fine. When I teach this to my students they are always amazed at how straightforward it is to do, and more often than not piping appears in all their following projects because they love how it looks – so do I!
Have fun with it.
The universal concealed zip foot can be easily obtained in most sewing suppliers and online – I looked the other day and it was very reasonable indeed, my first one cost nearly £15, but you can get them for as little as £5 these days. This foot is an amazing piece of kit, I don’t use that many feet at all, there is my standard work horse foot, my universal concealed zip foot, my Teflon foot for leather and PVC, and the buttonhole foot (I am going to invest in a walking foot soon too as there are projects that it will be very useful for but they are pretty expensive so not to be bought lightly for most of us) and that’s all you will ever need for the most part for garment making.


